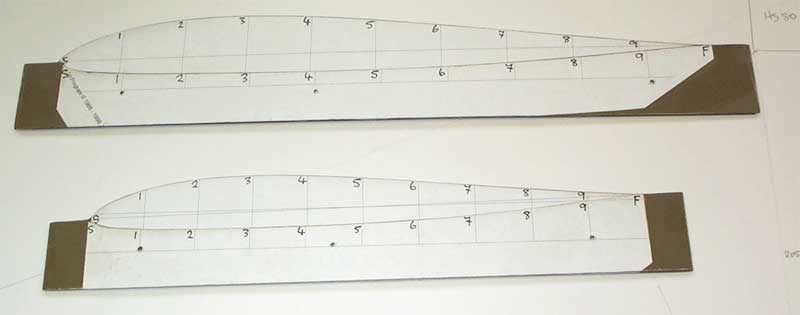
The most important part of any airplane is the wing, get this wrong and it doesn't matter how good the fuselage is it will fly poorly, so the first and most important step is to make some accurate templates.
The first thing you will need is an accurate airfoil plotting program so download 'Foils 4.2', you can download if form here, then print out the airfoil of your choice.
You will need to print out two sections for the root and two for the tip (one template for cutting the top and one for the bottom).
Stick the printed out sections onto some Formica, and when dry cut roughly around the section with a scroll saw. File and sand to an accurate shape.
Draw the wing full size on a piece of white card, work out the C.G and the positions of the servos. Draw control surfaces and servo wire conduits, its important to eliminate has many problems as possible at the design stage.
Next cut the foam blank the same size has your wing plan, I use 75mm thick blue foam, you can see from the photo the wing plan on top of the foam blank.
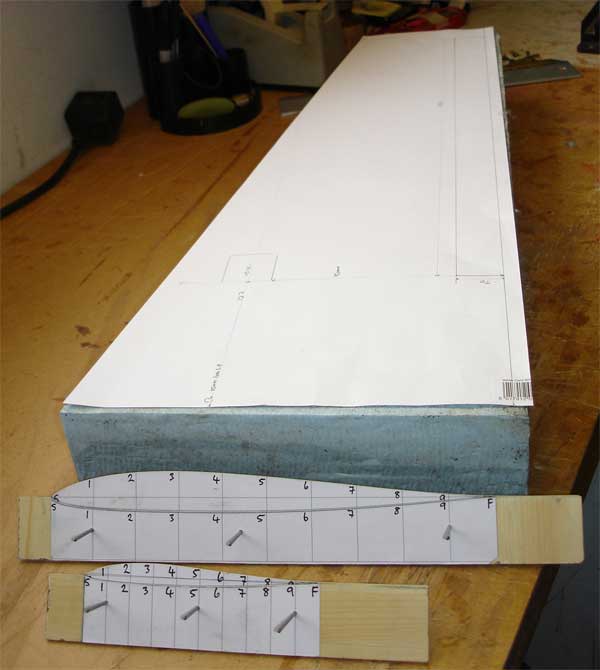
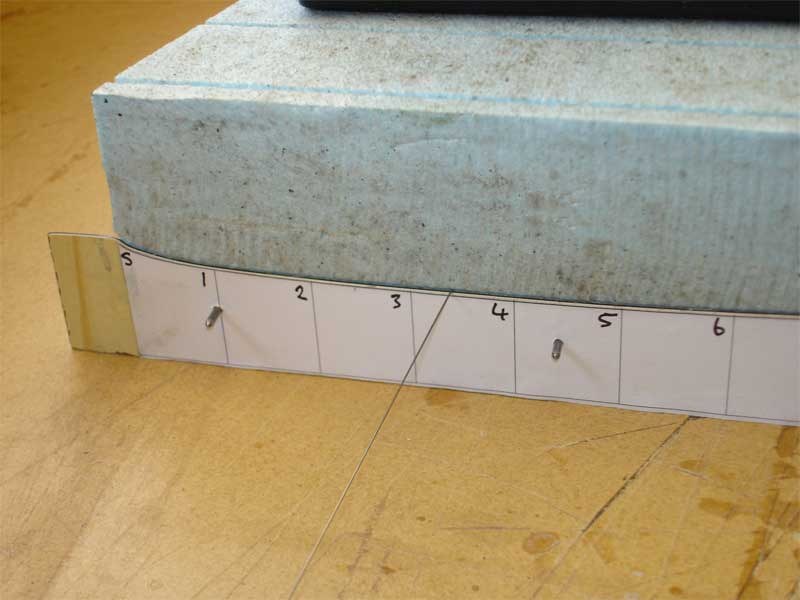
It's now time to attach the templates to the sides of the foam blank, always start with the bottom half first.
Start cutting at the front, the numbers on the side of the template are to make sure the wire is at the same position at the root and the tip at the same time.
Its important you take your time with this, if the core is not accurately cut the entire wing will be wrong.
It is now time for the top half, has before start at the front and make sure that you are synchronized with the tip numbers as you cut.
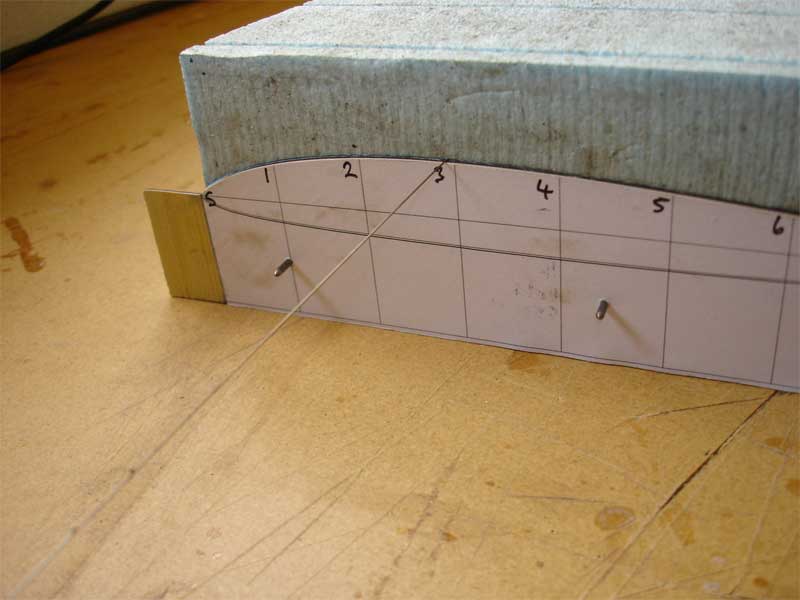
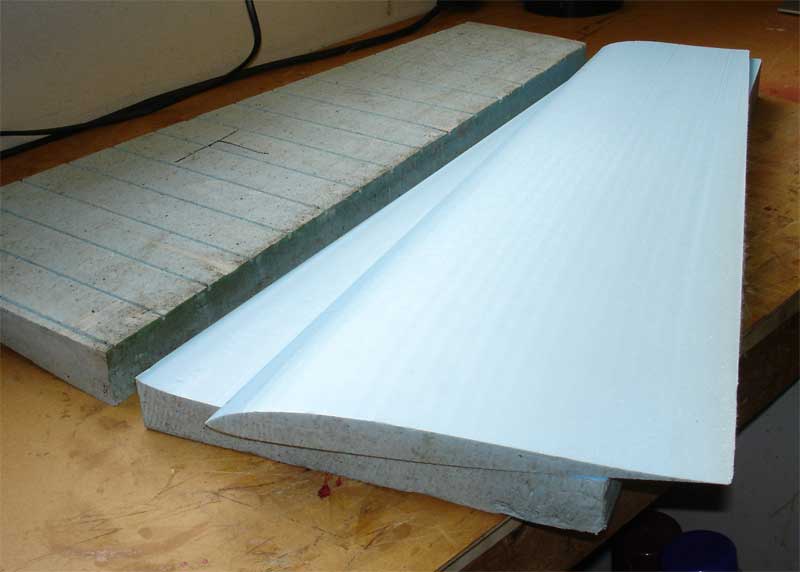
You should now have a accurate wing core ready for bagging.
